Getting Started
Connect
Connecting to Habanero is pretty easy. There are several ways of doing this. My personal recommendation is:
- Serial: picocom for Linux and OSX, putty for Windows.
- Ethernet: ssh for Linux and OSX, putty for Windows.
Serial
Habanero console can be connected to UART console pins J18 (2 - GND, 4 - UART_RXD, 6 - UART_TXD, 8 - 3.3V). You have to use adapter UART - USB to connect console to your computer.
putty (Windows)
Pretty straight forward. Run program, enter COM port number, select baudrate 115200 and click "connect".
picocom (Linux, OSX)
picocom -b 115200 /dev/ttyUSB0
- Picocom man
- To exit, press and hold CTRL, a, q.
Telnet (Linux, OSX)
New OpenWRT versions (which are installed in our devices) don't have telnet service installed by default.
Ethernet
putty (Windows)
Putty can be used for SSH, Telnet and Serial connectivity. It's a Swiss knife tool for Windows. Usage is as simple as in serial mode. Run, enter IP address, select protocol and connect.
ssh (Linux, OSX)
SSH is enabled by default without password. Habanero can be connected:
ssh root@192.168.1.1
Where root is your default root user and 192.168.1.1 IP address.
Advanced
Build firmware
This procedure must be performed on your computer. We use Debian and Ubuntu but many other distributions should work. It is also possible to build on OSX. Building on Windows platform is not recommended.
Install packages to your computer
In order to build OpenWrt, you will need few software packages on your computer. Some are mandatory, some optional.
sudo apt-get install subversion g++ ncurses-term zlib1g-dev gawk flex patch openssh-server minicom picocom tftp tftpd gettext libncurses5 libncurses5-dev unzip quilt git git-doc git-gui libxml-parser-perl libssl-dev
Get latest sources
Get latest sources from 8devices OpenWrt branch.
 git clone --branch openwrt-snapshot_r9911-ipq40xx-4.14 https://github.com/8devices/openwrt-8devices.git
 cd openwrt-8devices
Build image
If you are building firmware for the first time run following command to build manually:
./build.sh
This will update package feeds and build minimal image firmware image. If you want to customize your build look for more details in advanced section.
Note that building OpenWrt firmware takes some time. On moderate computer it might take 1 to 3 hours. CPU load during this process is usual close to 100%. Building environment takes up about 12GB of hard disk space. You should see build log like this:
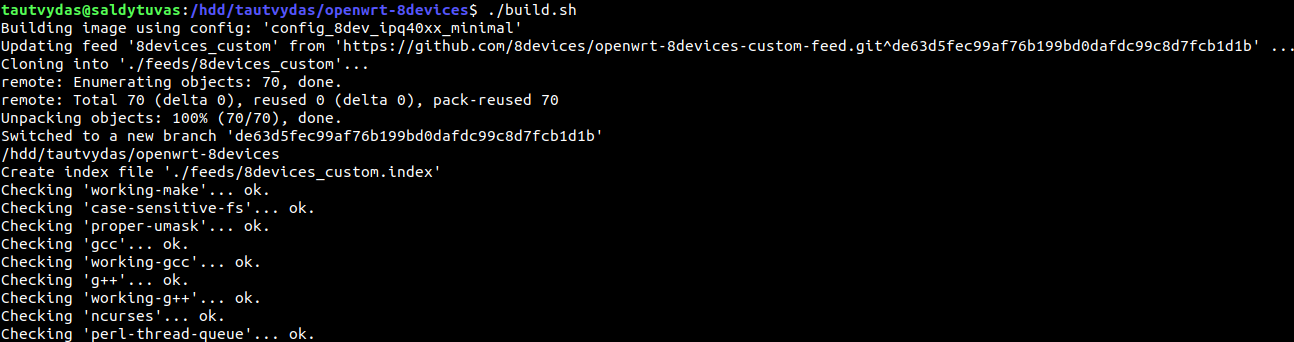
Image will be available in openwrt-8devices/bin/targets/ipq40xx/generic folder.
Advanced
If you feel like something is missing or looking for some goodies, this section is for you.
Useful links
Upload firmware
This section covers few methods how to upgrade firmware on Habanero. Some methods require only UART Serial connection, some only LAN, some LAN and Serial. Also you might need to install/setup other software to perform these tasks.
Web interface / LUCI
This method is recommended for novices. Connect to Habanero web interface, browse for firmware upgrade (System → Backup / Flash firmware), select file and press upgrade.
sysupgrade
Login to Habanero and download binary image to RAM. (Alter IP and path to match your binary image location)
scp test@192.168.1.254:/home/test/openwrt-8devices/bin/targets/ipq40xx/generic/openwrt-8devices-v3.1-ipq40xx-8dev_habanero-dvk-c2-squashfs-sysupgrade.bin /tmp
Perform upgrade procedure.
sysupgrade -v -n /tmp/openwrt-8devices-v3.1-ipq40xx-8dev_habanero-dvk-c2-squashfs-sysupgrade.bin
Or if you wish to save configuration files:
etc/ethers
etc/config/wireless
etc/config/system
etc/config/network
etc/config/dropbear
etc/config/firewall
etc/config/dhcp
etc/dropbear/dropbear_rsa_host_key
etc/dropbear/dropbear_dss_host_key
type:
sysupgrade -v -c /tmp/openwrt-8devices-v3.1-ipq40xx-8dev_habanero-dvk-c2-squashfs-sysupgrade.bin