Capture CAN Bus Traffic on Windows (Wireshark)
Installation
An external capture utility needs to be installed in order to capture CAN traffic over Wireshark on Windows systems.
Installer for 64 bit platform (usb2can_extcap_v1.2_legacy.zip, usb2can_extcap_v1.2_winusb.zip).
The utility needs to be installed to the root folder of Wireshark. The installer sets C:\Program Files\Wireshark as default, change it to the appropriate path if Wireshark was installed in a custom directory.
Also, a suitable Korlan USB2CAN driver needs to be installed for the utility to work. You can get the driver here.
Initial set-up
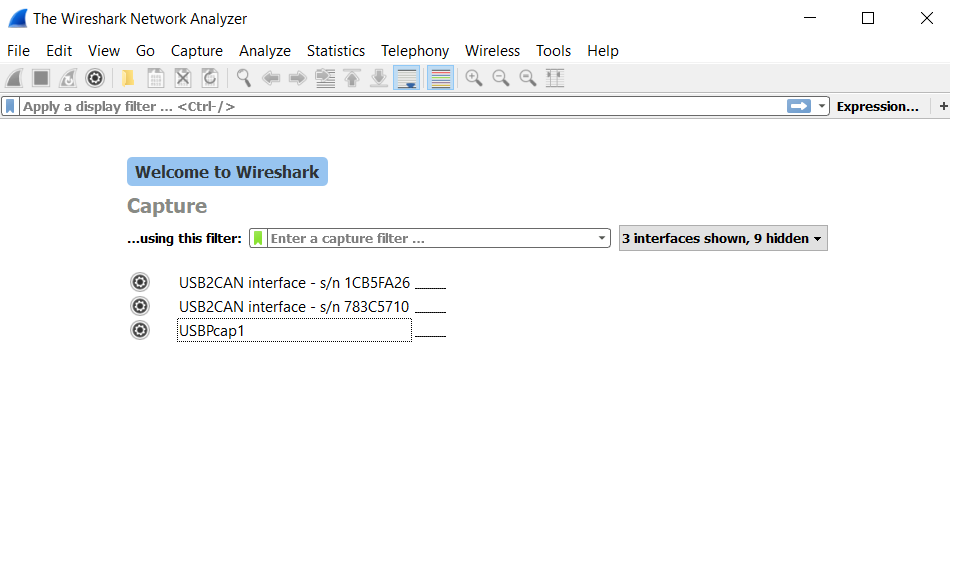
Once the install process completes, Wireshark should detect the Korlan USB2CAN adapter.
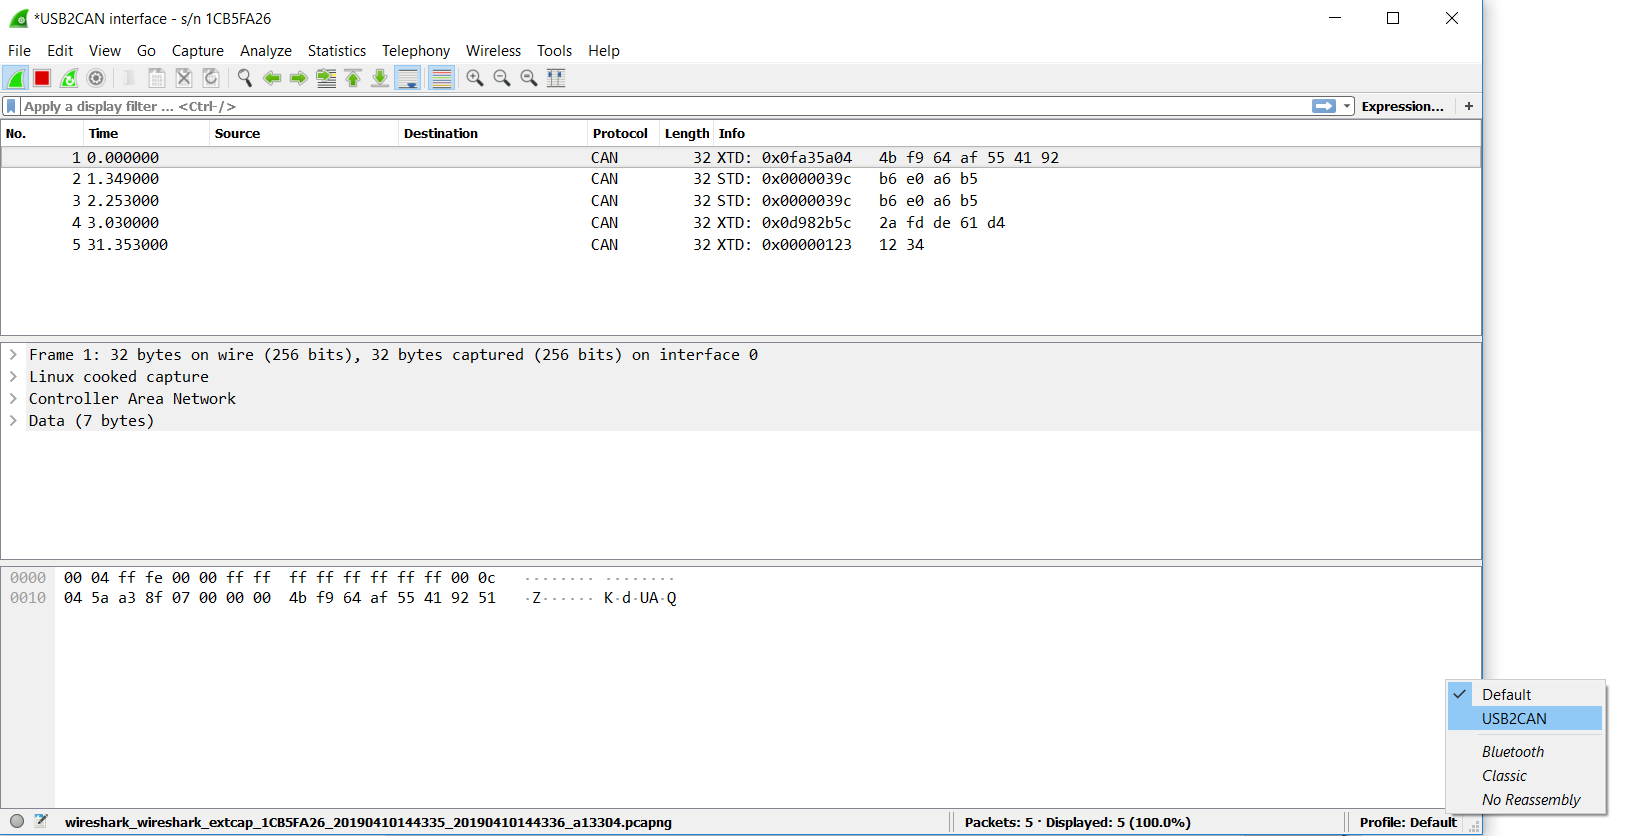
A custom Wireshark profile named USB2CAN is created during the install which should be selected before starting the capture.
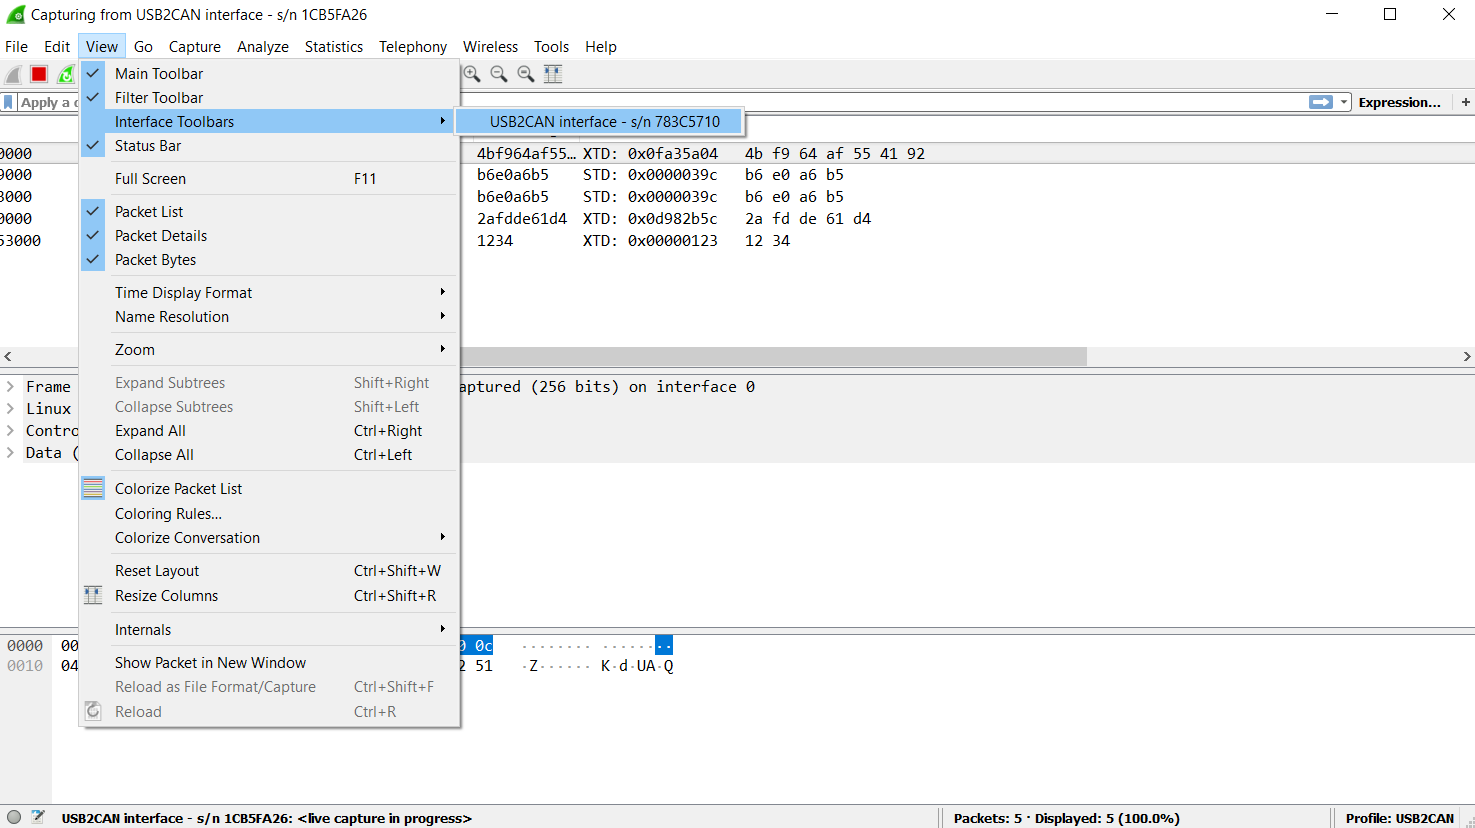
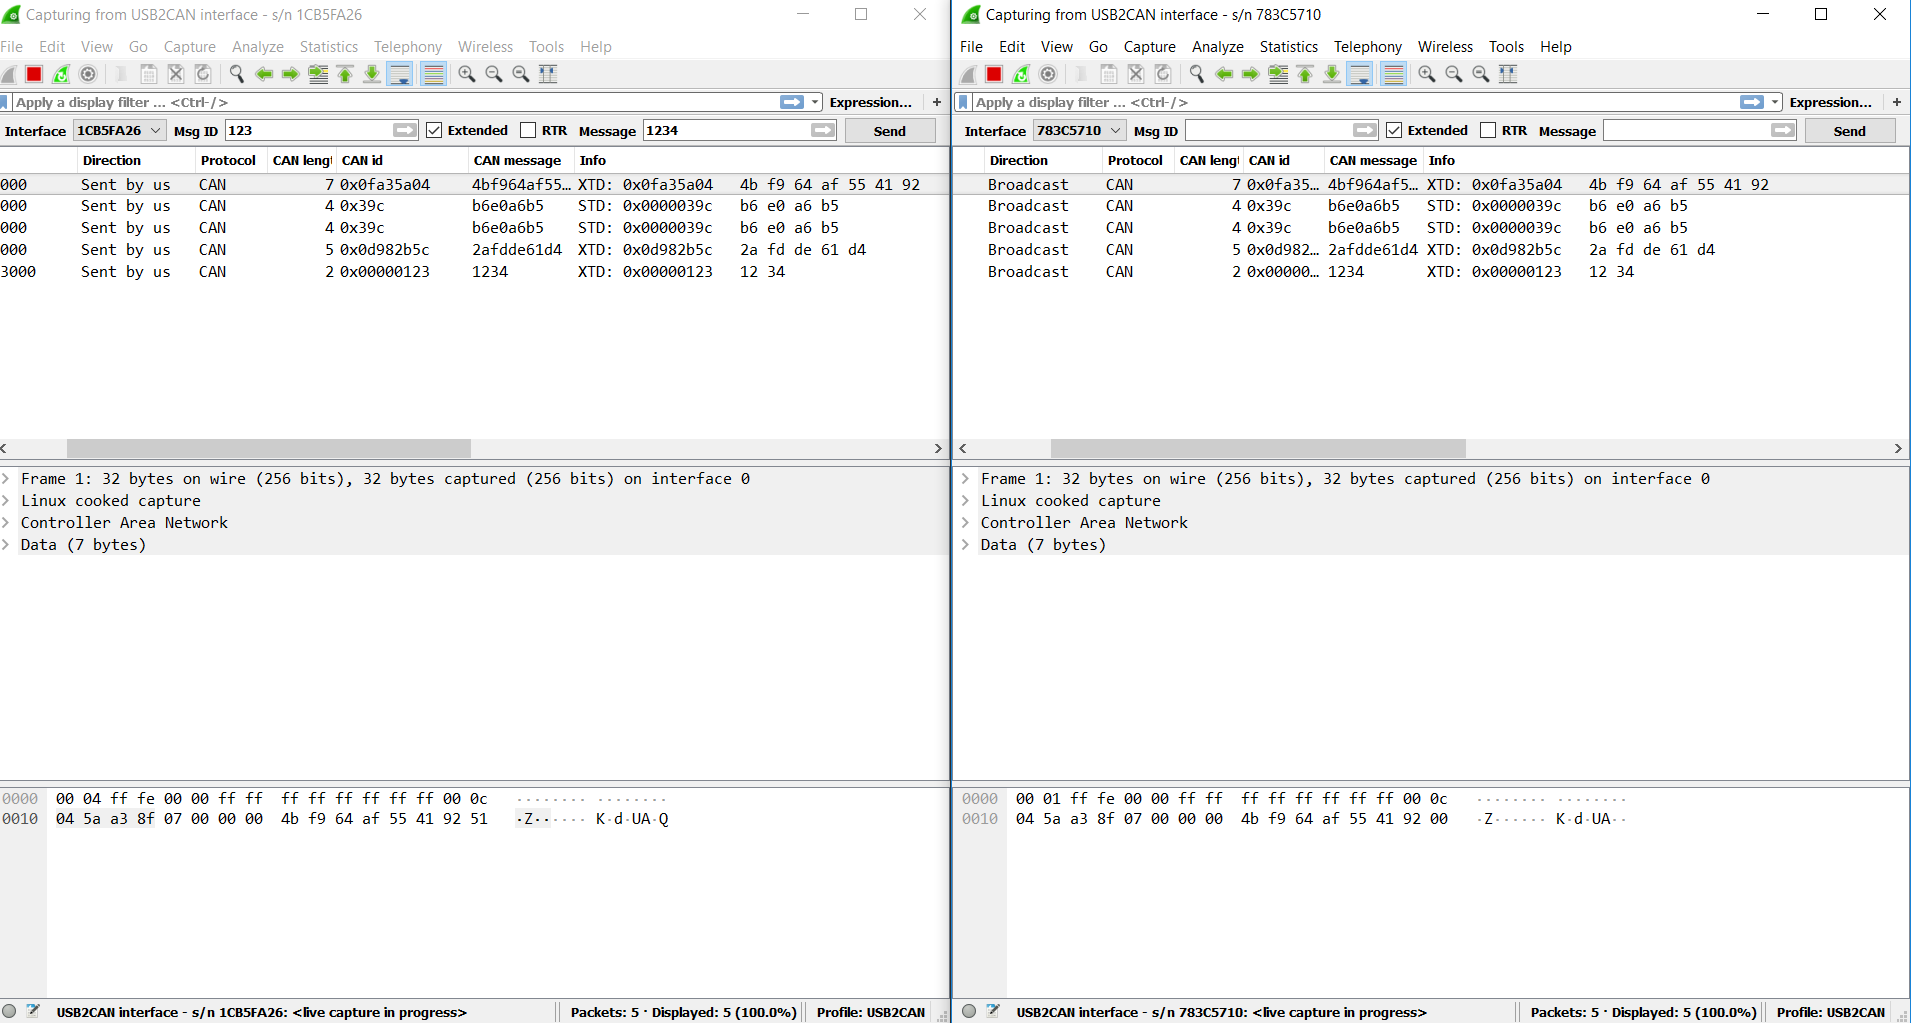
A helper toolbar should appear. If the toolbar is hidden, it can be manually enabled via View menu.
Capturing CAN Bus Traffic
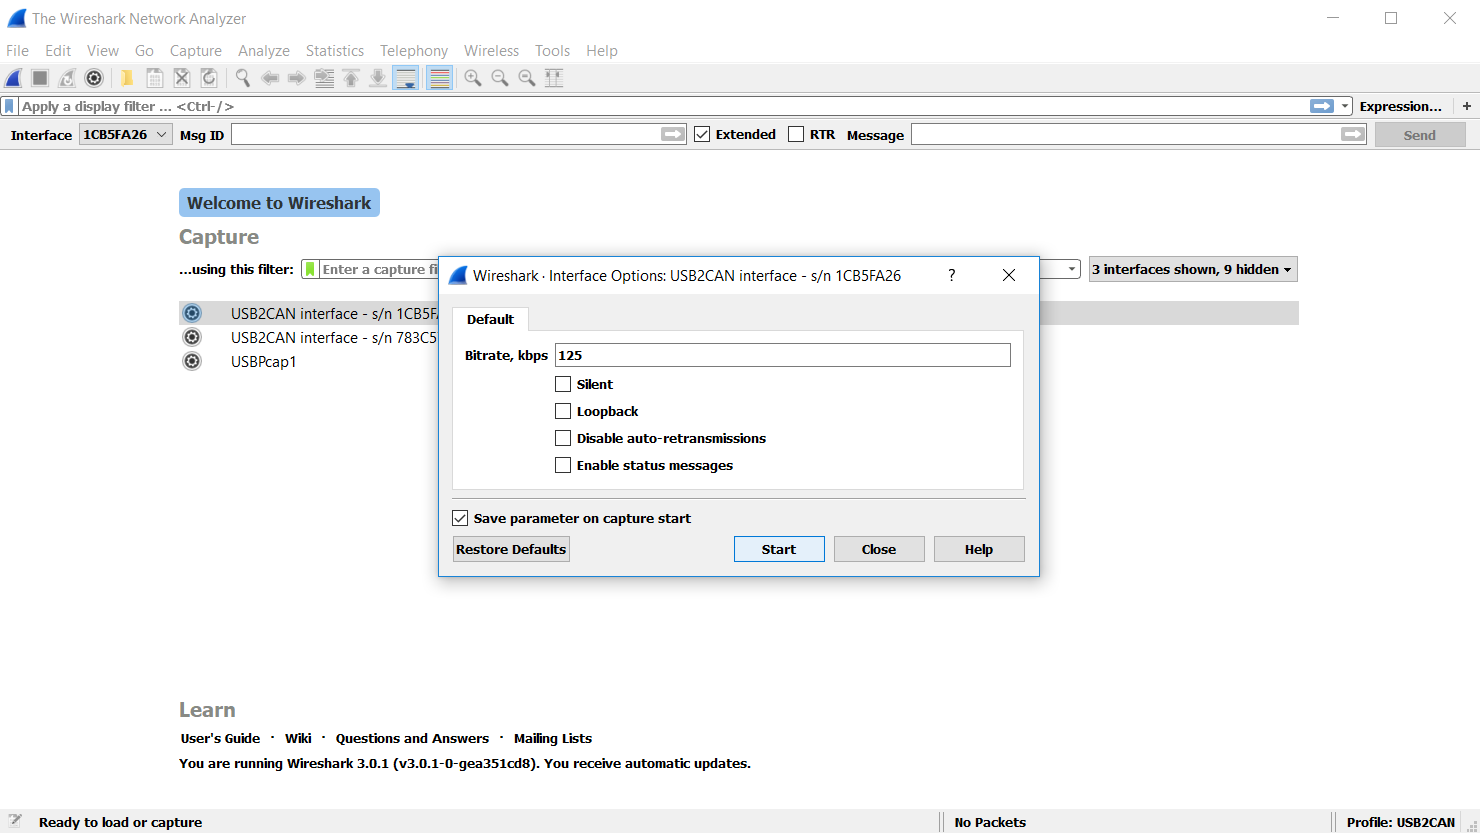
The capture is initialized by selecting the appropriate capture interface. Upon selecting the interface, initial capture parameters need to be provided. Setting only the appropriate bitrate is sufficient.
The CAN bus interface is opened automatically when the capture starts. CAN messages will be received as any other packets in Wireshark, custom CAN messages can be sent via the toolbar. If no Msg ID is provided, a random message will be sent via the send button.
The capture should be stopped by pressing the "Stop capturing packets" button on the main Wireshark toolbar, this will stop the capture and close the CAN interface.
Captured CAN packets can then be saved and analysed as they conform to pcap-ng standard.
